
What to Expect During a Paver Driveway Installation
A day-by-day walkthrough of the paver driveway installation process from excavation to final compaction.
Understanding the Process
A paver driveway installation is a multi-day process that involves significant disruption to your property. Understanding what to expect — and why each step matters — helps you evaluate your contractor's work quality and know when something isn't being done right.
A typical two-car driveway (600 sq ft) takes 5–8 working days from start to finish. Larger or more complex projects can take 2–3 weeks. Weather delays are common and should be expected — never pressure a contractor to work in wet conditions, as moisture compromises base compaction.
Day 1–2: Site Preparation & Excavation
The project begins with marking the driveway layout, setting string lines for grade and slope, and calling for utility locates (811 in most areas). Then excavation begins — typically removing 12–14 inches of soil to accommodate the base, sand, and pavers.
Excavated soil must be removed from the site, not piled in your yard. A typical driveway generates 25–35 cubic yards of spoil, which requires several dump truck loads. Make sure your quote includes spoil removal — some contractors charge this separately.
The excavated subgrade is then compacted with a vibratory plate compactor. If the native soil is soft clay or organic material, the contractor may need to over-excavate and import structural fill. This is a legitimate change order that can add cost but is essential for a durable result.
Pro Tip
Before excavation starts, photograph the condition of your lawn, landscaping, and any adjacent hardscape. This protects you if there's a dispute about property damage during construction.
Get Expert Help
Connect with verified contractors in your area who specialize in this work.
Start ProjectDay 2–3: Base Construction
The aggregate base is the foundation of your driveway and the most critical step in the entire process. A typical driveway base consists of 6–8 inches of compacted crushed aggregate (often called road base, crusher run, or Item 4) placed in lifts of 2–3 inches and compacted between each lift.
Each lift must be compacted to 95%+ Modified Proctor density. Your contractor should be using a vibratory plate compactor weighing at least 5,000 pounds of force. Hand tamping or lightweight compactors are completely inadequate for driveway base preparation.
The base must be graded to establish proper drainage slope — typically 1–2% away from the garage and toward the street or drainage area. This slope must be consistent and smooth, as it transfers directly to the finished paver surface.
Day 4–5: Sand Bed & Paver Installation
A 1-inch layer of bedding sand (typically concrete sand or ASTM C33 sand) is screeded over the compacted base. This sand layer must be uniform in thickness — variations create high and low spots in the finished surface.
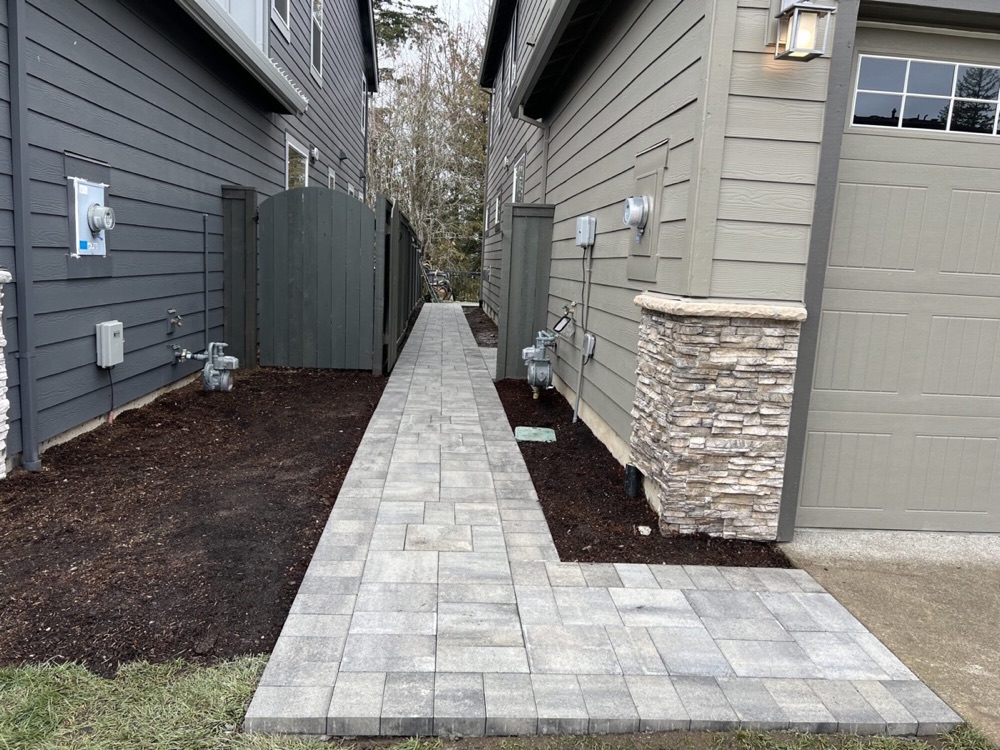
Pavers are then laid on the sand bed in the chosen pattern, typically starting from a fixed edge (like the garage apron) and working outward. Border pavers are set first to establish the frame, then the field pattern fills in between.
Cutting is inevitable at borders, curves, and transitions. A quality installation uses a wet-cut diamond blade saw for clean, precise cuts. If you see your contractor snapping or chipping pavers to fit, that's a sign of poor workmanship.
Ready to Start Your Project?
Get free, no-obligation quotes from top-rated hardscaping professionals near you.
Get Free QuotesEdge Restraints
Edge restraints are critically important for driveways. Without them, the pavers at the edges will spread outward under vehicle weight, opening joints and allowing the entire field to shift and rut over time.
Common edge restraints include aluminum or steel L-shaped channels anchored with 10-inch spikes, concrete curbing, or existing structures like garage slabs and sidewalks. Plastic edging — common for patios — is generally not strong enough for driveway applications.
Edge restraints should be installed before the border pavers are laid and must be spiked firmly into the compacted base material, not just the sand bed. Every 12 inches of restraint should have at least one 10-inch spike.
Pro Tip
Snap-together plastic edging is fine for patios but NOT for driveways. Insist on aluminum, steel, or concrete edge restraints for any vehicular application.
Day 6–7: Compaction, Sand & Cleanup
After all pavers are laid and edge restraints installed, the entire surface is compacted with a vibratory plate compactor fitted with a rubber pad (to protect the paver surfaces). This seats the pavers into the sand bed and locks them together.
Polymeric sand is then swept into the joints, excess is blown off, and the sand is activated with a controlled water mist. The sand needs 24–48 hours to fully cure, during which the driveway should not be driven on.
Final cleanup includes sweeping, removing construction debris, restoring any damaged landscaping, and a walkthrough with the homeowner. Your contractor should point out any areas of concern and explain the maintenance requirements and warranty terms.
Need Professional Advice?
Speak directly with experienced hardscapers who can bring your vision to life.
Find a ProTimeline & What to Plan For
Plan for 5–8 working days for a standard two-car driveway. During construction, you'll need alternative parking — your driveway will be completely unusable for the duration. Coordinate with your contractor on equipment access and material delivery staging.
Weather delays happen. Rain stops base compaction and paver laying. Freezing temperatures prevent polymeric sand from curing. A good contractor builds weather contingency into the schedule and communicates proactively about delays.
After completion, wait at least 48 hours before driving on the new surface to allow polymeric sand to fully cure. Avoid turning steering wheels while stationary (called 'dry steering') for the first few weeks — this can dislodge pavers before the system fully settles.
- Week 1: excavation, base construction, compaction
- Week 2: sand bed, paver laying, cutting, edge restraints
- Final days: compaction, joint sand, cleanup
- Post-completion: 48-hour cure time before driving
Have more questions about Driveways?
Get free quotes from verified hardscaping professionals in your area.
Start Project